


令和6年の地震や豪雨災害の早い復興を願います。 私の趣味はDIYを楽しむ事 小さな物から大きな物まで修理や作成しています。 (写真:梅津正道隊員撮影) I wish for a swift recovery from the earthquake and heavy rain disasters of 2024. My hobby is enjoying DIY, repairing and creating things from small to large. (Photo: Taken by Masamichi Umezu)


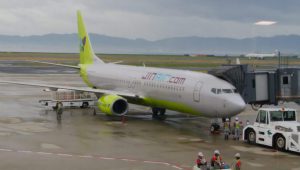
2019.6.27 関空-釜山往復をジンエアー(LCC)を利用して行きました。
初めて韓国に行きました。福岡に行く位の時間で行けるので外国と思えません。言葉が殆ど通じませんので身振りと眼力で乗り切りました。2019.6.27 I went to Kansai International Airport and Busan round trip using Jin Air (LCC). I went to Korea for the first time. It doesn’t feel like a foreign country since you can get there in about the same amount of time as going to Fukuoka. Since I could hardly understand the language, I got through it with gestures and eyesight.
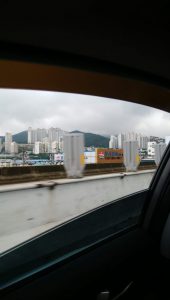
意外と高層ビル(多分マンション)がニョキニョキと林立していました。ひょっとして地震は無いのかな?私の目には超高層の高さに見えました。
町中を歩いた印象は、「全体を綺麗にして歩道を整備した、台湾」という感じです。 Surprisingly, there were a lot of high-rise buildings (probably condominiums). Maybe there won’t be an earthquake? To my eyes, it looked like a skyscraper. Walking around the town gave me the feeling of being in Taiwan, where the whole area was clean and the sidewalks were well maintained.
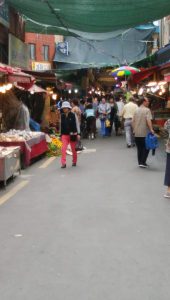
初日は国際市場に出かけて韓国海苔をしこたま買いました。二日目は西面という所の市場で布製スリッパをこれまたしこたま買いました。どちらの市場も凄くデカイです。
木曜、金曜日だったので人出はそこそこでしたが、土日はきっと凄い人出になりそうな気がします。 On the first day, we went to the international market and bought Korean seaweed in bulk. On the second day, I bought a bunch of cloth slippers at a market in Seomyeon. Both markets are huge. It was Thursday and Friday, so the crowd was moderate, but I think it will be a huge turnout on Saturday and Sunday.
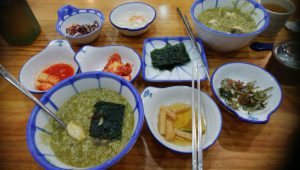
これは二日目の朝食、アワビ粥です。もちろん美味しかったです。 This is the second day’s breakfast, abalone porridge. Of course it was delicious.
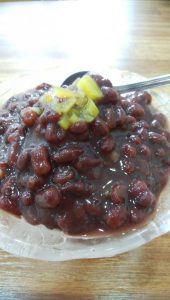
スイーツはかき氷につぶあんを載せた、甘み控えめのもの。
夕方の便で戻り一泊二日の旅は終わりました。 The sweets are shaved ice topped with mashed red bean paste and are not too sweet. We returned on the evening flight, completing our one-night, two-day trip.
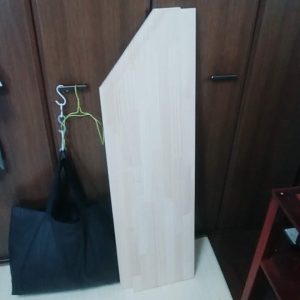
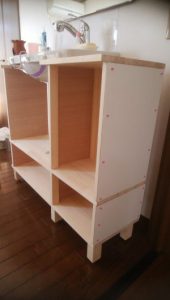
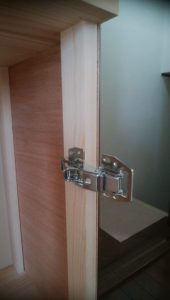
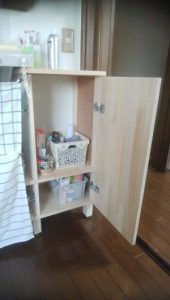
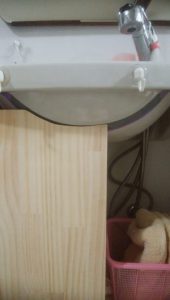
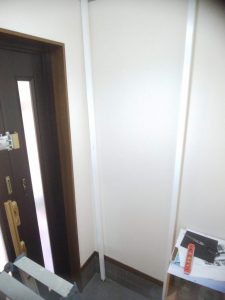
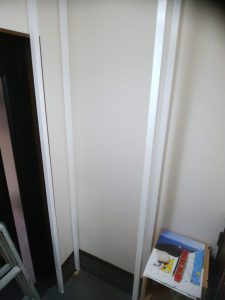
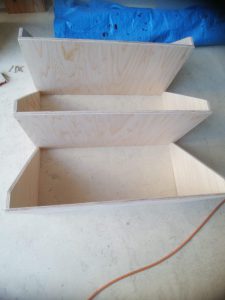
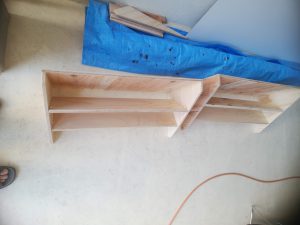
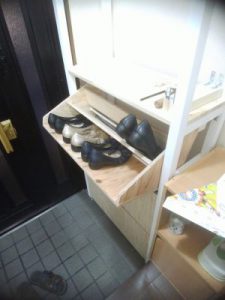
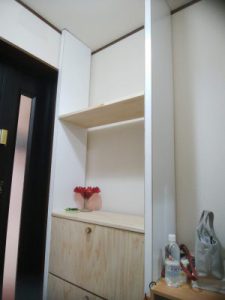
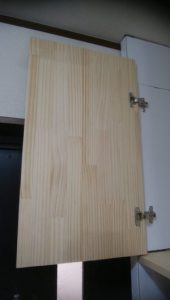
我が家の靴入れは階段下に小さい物があるのですが靴も多く収納に困っています。
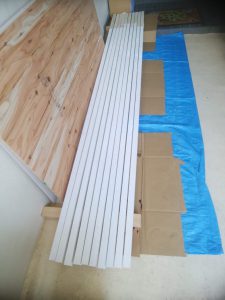
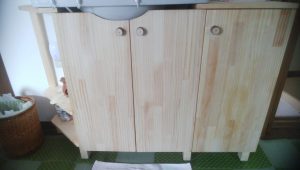
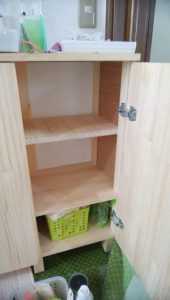
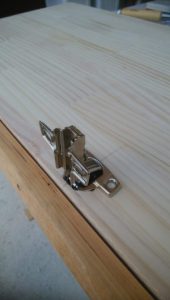
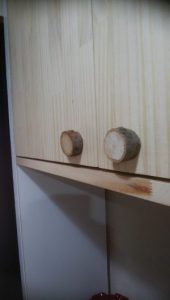
今回は靴入れを作ろうと思います。以前家具店(IKEA)で見たものを参考にしたいと思います。
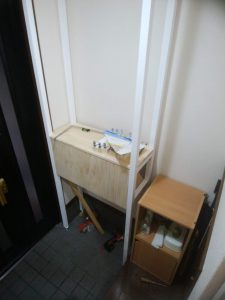
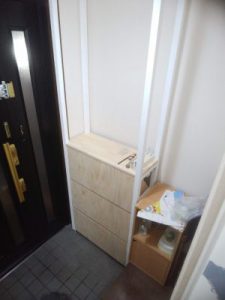
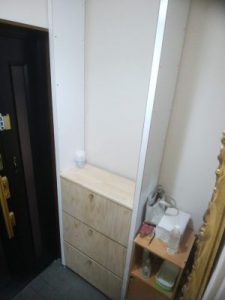
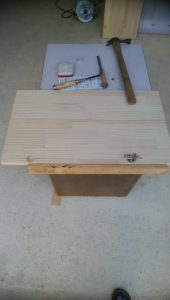
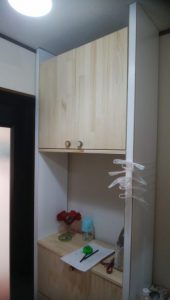
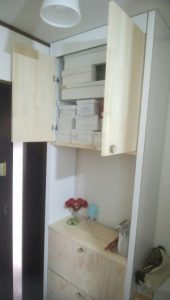


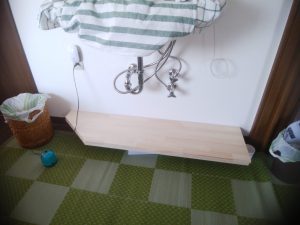
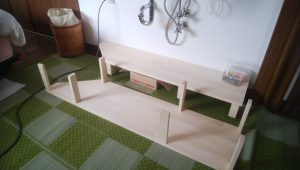
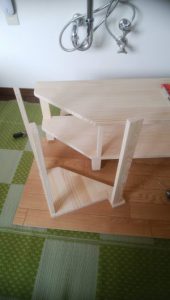
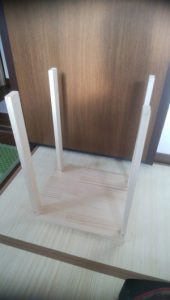
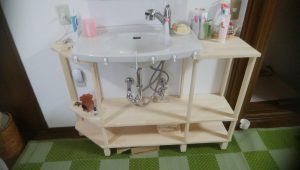
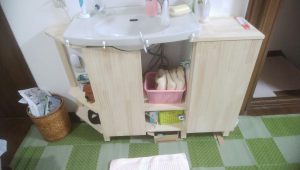
Reuse the counter table that was removed from the kitchen in the past.


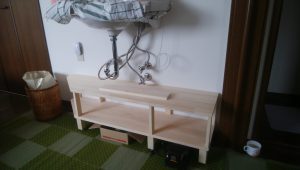
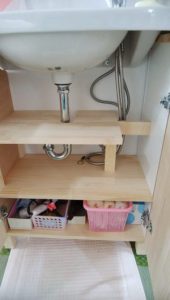
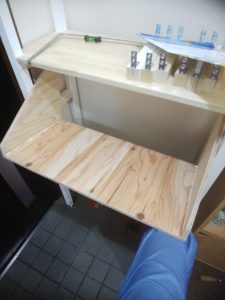
ここにはオーデオを置いてみました。I put audio here.