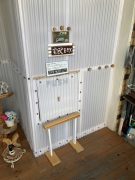
(2023.2.26) (9.6)(2024.3.19)
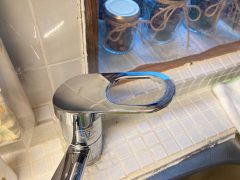
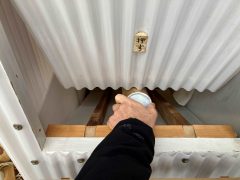
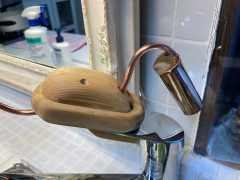
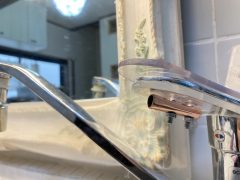
キッチンの蛇口はこの様な形をしていて濡れた手で使っていると水栓付け根が水浸しになります。
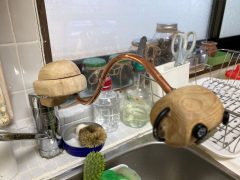
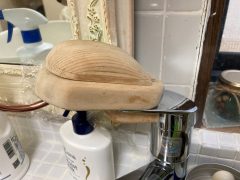
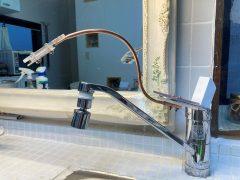
キッチンの蛇口に怪獣の頭を付けて、手に付いた水が水栓付け根に伝わらない様にしました。怪獣の頭を上下させて使います。
頭が重いせいで洗い物中に水が勝手に止まるようになりました。
対策として怪獣の胴体に尻尾を付けて頭とバランスを取ろうと思います。
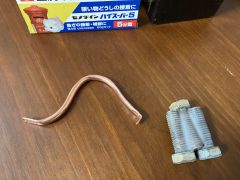
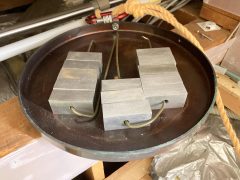
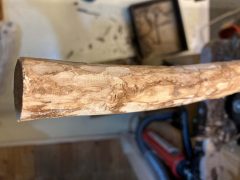
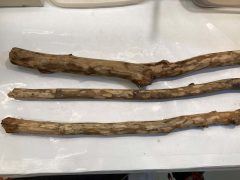
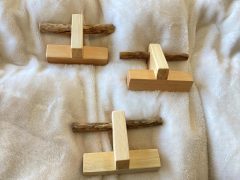
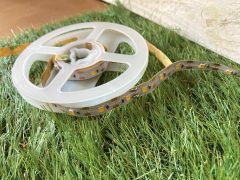
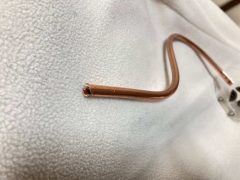
これがシッポとその先に付ける錘の3本のボルトです。シッポはエアコンの冷媒管の切端です。
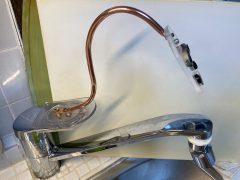
ボルトと尻尾をエポキシ樹脂で固めます。
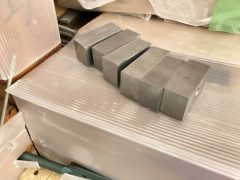
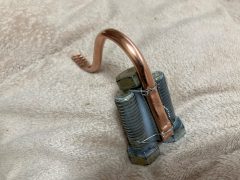
ボルトのカバーは銅板を切って作りました。
カバーもエポキシ樹脂で接着します。
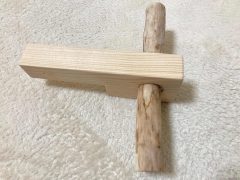
胴体からシッポが生えました。
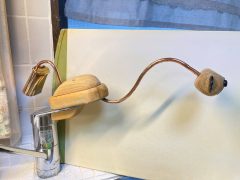
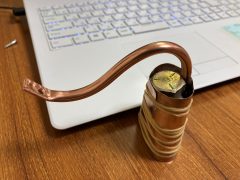
絶妙なバランスでレバーが下がらなくなりました。手前味噌ですが素晴らしい出来栄えです。ここまで来ると足も欲しくなりますね。(笑)
(9.6)
時間の経過と共に木の部分が色あせて来たのと、真鍮パーツの発錆頻度が増えたので改修をしました。
As time passed, the wood parts began to fade and the brass parts began to rust more frequently, so I decided to refurbish them.
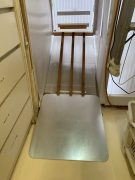
取付けていたパーツを全て取外して木製部をアクリル板に変更して耐水性を向上させました。
頭とボディーが軽くなったのでバランス用のシッポは無くし、首の真鍮パイプは錆を磨いてクリアーラッカーを塗って錆対策し再利用しました。
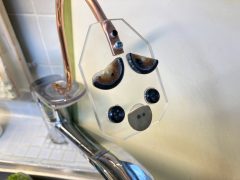
怪獣顔のパーツは再利用して、たれ耳の犬にイメチェン。かなりスッキリしました。
宜しければ動画もどうぞ。(Instagramにて kato_bontene で検索ください。)
Please watch the video if you like.(Search for kato_bontene on Instagram.)
(2024.3.19)
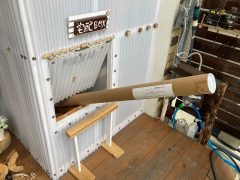
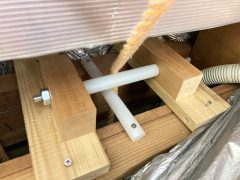
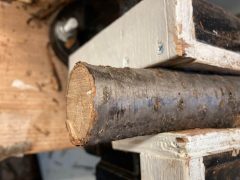
根っこから折れました。It was broken at the root.
一回目に折れた時に取り付けたスリーブの内径が少し大きくて遊びが大きかったのが折れた原因です。The reason why it broke the first time was because the inner diameter of the sleeve I installed was a little large and there was a lot of play.
今回はスリーブとパイプの間に銅板を巻いて遊びを少なくして見ました。This time, I wrapped a copper plate between the sleeve and the pipe to reduce play.
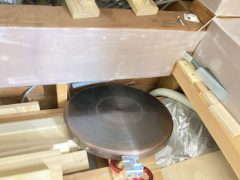
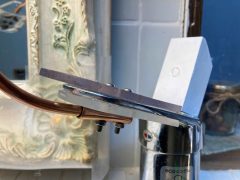
もう一つ改修点は、やはりハンドルのおもさでハンドルが下がって水が止まるので、つり合い錘を復活しました。白色に塗った鉄の塊を両面テープでくっつけました。Another improvement was that the weight of the handle would cause it to drop and stop the water from flowing, so we reinstated the counterweight. I attached pieces of iron painted white with double-sided tape.