
靴箱の棚にディスプレイ棚を作ります。Create a display shelf on the shoe rack shelf.
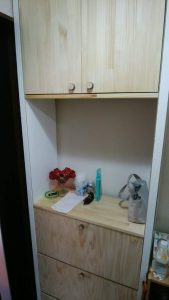
この部分にディスプレイを作ります。Create a display in this part.
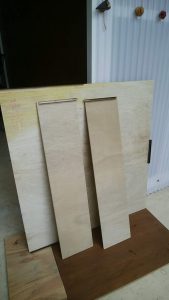
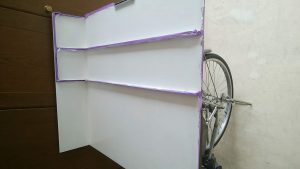
パーツを切り、コの字のアルミ材を接着していきます。

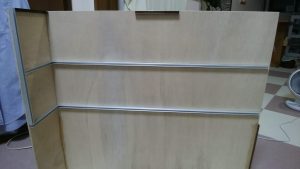
棚が付く部分も同様に接着しました。つづく。
本日は晩ごはんを食べて、少し作業をしました。また、つづく。
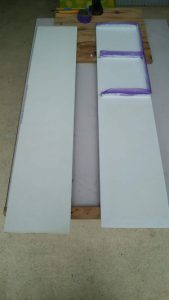
本日は、砥の粉を塗りました。一つ前の写真と比べると白っぽく見えると思います。あしたペンキを塗ります。つづく。
本日は、ペンキを塗りました。つづく。
アルミのコの字金物が在るので塗り難かったです。つづく。
It was difficult to paint because there was an aluminum U-shaped hardware. to be continued.
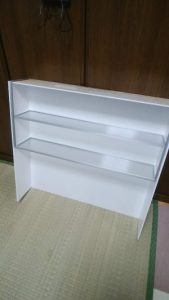
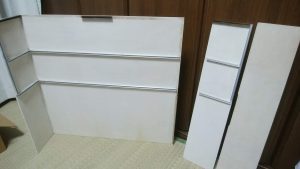
本日は、組み立てました。ペンキの手直しをしました。二枚の棚板は、ポリカーボネイト版(透明)にして棚下が照明の影にならないように考えてみました。つづく。
I assembled it today. I touched up the paint. I decided to use polycarbonate (transparent) for the two shelves so that the bottom of the shelves would not be in the shadow of the lighting. to be continued.
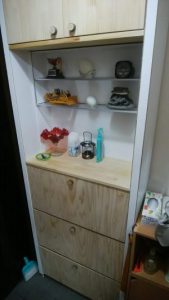
本日は靴箱に設置しました。試しに6品配置してみました。つづく。
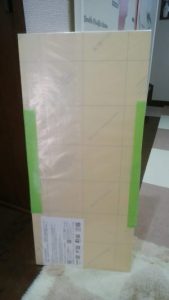
本日は注文していた、アクリル板が届きました。The acrylic board I ordered has arrived.
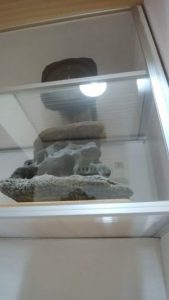
最終日になりました。到着したアクリル板を付けてディスプレイ棚の完成となりました。照明が反射しているので透明アクリルが在ることが分かります。
The display shelf was completed by attaching the acrylic board that had arrived. You can see that there is transparent acrylic because the light is reflected.