ドローン練習 drone practice

10月20日は講習最終日でした。インスパイアという機体も飛ばしました、写真無いのが残念です。インスパイアは着陸時に脚が降りるタイプで何かカッコイイですよ。https://www.youtube.com/watch?v=SgvsUkAqbac
最後にペーパー試験もありました。まだまだ、ひよっこパイロットなので経験を積まないといけません。October 20th was the last day of the course. I also flew an aircraft called Inspire, but unfortunately I don’t have any photos. The Inspire has legs that come down when it lands, which is kind of cool. https://www.youtube.com/watch?v=SgvsUkAqbac There was also a paper exam at the end. I’m still a young pilot, so I need to gain experience.

  • 13日の講習訓練の復習をしてきました。最後の講習は20日にあり、ペーパー試験があるそうです。I reviewed the course training on the 13th. The last course will be on the 20th, and there will be a paper exam.


    コントローラ、モード1にも慣れてきた。(写真は電子科の先生)


    赤いランプが前側です。この日は天気が良かったので、日焼けしました

  • 空飛ぶ凶器になり得るので、対人対物保険に加入しました。それから自動車で言うところの車両保険にも加入したいと思います。
  • 2回目の講習は10月13日です。それまでは、自主勉強です取説読んだり室内フライト訓練をしてます。フライトは教室がメインで、先日壁と接触してプロペラを2枚折りました。Since it could become a flying weapon, I purchased personal and property insurance. I would also like to take out car insurance. The second training session will be held on October 13th. Until then, I am studying on my own by reading the instruction manual and doing indoor flight training. The main flight was in a classroom, and the other day I made contact with a wall and broke two propellers.
  • 後期スタート
    • 9月26日から後期がスタートします。新しい科目のドローンを担当することになりました。どうなる事でしょう? 機体購入時の講習が全3回行われます。
      何時もながらの自転車操業の始まりです。
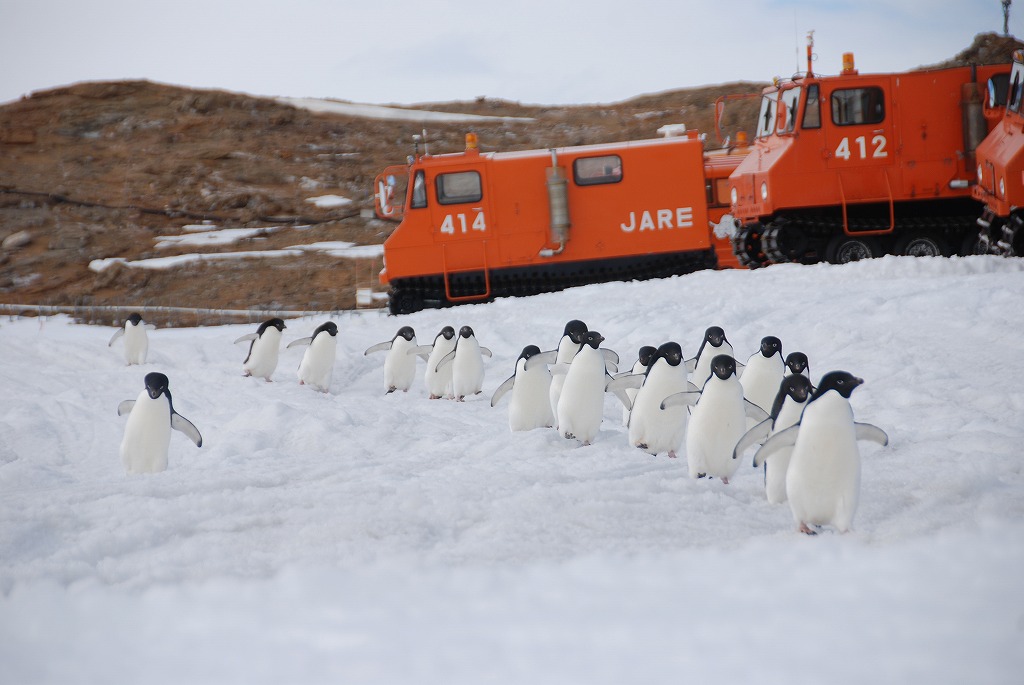
      これは一回目の講習で、約2時間の座学と30分の実技(フライト)でした。フライト練習場までは車で40分。フライトは日の出から日没までの制限の中で実施しなければなりません。何だか南極みたいですが、日没が迫る中慌ただしい講習でした。The second half starts on September 26th. I will be in charge of a new subject, drones. What will happen? A total of 3 training sessions will be held when purchasing the aircraft. This is the beginning of the usual bicycle operation. This was the first course, and consisted of about 2 hours of lecture and 30 minutes of practical training (flight). It is a 40 minute drive to the flight practice area. Flights must be conducted within sunrise to sunset restrictions. It kind of looked like Antarctica, but we had a hectic class as the sun was approaching.

エアポート学科の実習場に行き座学で学んだ事を確認しながら飛ばします。二人で受講しています、写真は電子科の先生です。


機体の名前は、ファントム4。今回は8の字飛行をやりました。シュミレーター機能もあるので室内トレーニングが出来ます。その時間が取れるかが問題です。

フライトは大変安定感があり、初めてでも墜落することは無いと思います。赤外線コントロールのヘリコプターの方が格段に難しいです。高機能満載の機体なのですべて機械任せと言って過言ではありません。通常は障害物センサー、自動ホバリング、気圧高度センサー、音波高度センサー、ビジュアルセンサー、GPS信号などにより機体の安定を確保し撮影作業に専念できる設計です。機体とプロポに取り付けられたiPad間でも通信していて、機体の状況が何時もiPadに表示されています。
講習は機能不全に陥った際に手動で帰還出来る技量を習得することを目的としています。The flight is very stable and I don’t think I will crash even on my first time. Infrared controlled helicopters are much more difficult. It’s no exaggeration to say that the aircraft is packed with high functionality, so everything is left to the machines. Usually, it is designed to ensure the stability of the aircraft using obstacle sensors, automatic hovering, barometric altitude sensors, sonic altitude sensors, visual sensors, GPS signals, etc. so that you can concentrate on shooting. There is also communication between the aircraft and the iPad attached to the radio, and the aircraft status is displayed on the iPad at all times. The purpose of the course is to acquire the skills to manually return the machine in the event of a malfunction.

2016.08 高野山に Koyasan

夫婦で行ってきました。8時間程のゆったりとしたウォーキングといったところですね。お昼は精進料理を食べました。僕は2度目でしたが、とても楽しかったです。南無大師遍照金剛。

I went with my wife. It’s about 8 hours of leisurely walking. I ate vegetarian cuisine for lunch. It was my second time and I really enjoyed it.

エアチューブ敷設(学校)

学校の2階教室でショップエアーが使えるようにします。

先ずエアチューブを通したいところに、配管を設置する。

配管設置が終わり、ここまで来れば90%終わったようなもの。あとはチューブを中に通せばOK。

s-DSCN1636.JPG


配管にエアチューブを挿入する。(入口側)

s-DSCN1635.JPG


出口側、赤く見えるのがエアチューブです。

s-DSCN1637.JPG


下からチューブを出し蓋をして完成。

これで、教室でもエアーが使えるようになりました。

ドア増設(学校) Additional doors (school)

学校の実習場にはコンプレサー室があり、これを運転停止するときにこの部屋に入り起動ボタンを押すわけですが、建物を出てくーるーりと回って入らなければなりませんでした。
そこで、構内で不要となったドアを出入口の直ぐ横に取付けました。

下の写真は全面が壁だった所にドアを取付けたところです。 (完成写真)

There is a compressor room in the school’s training area, and when you want to shut down the compressor, you enter this room and press the start button, but you have to go out of the building and go around the room. Therefore, we installed a door that was no longer needed on the premises right next to the entrance. The photo below shows a door installed where the entire surface was a wall. (Completed photo)

取付けたドアを開けたところ。右に見えるドアは実習場へ通じるドア。

実験装置に扉(学校) Door to experimental equipment (school)

オルタネーター実験装置のメンテをする時、何時も左面のパネルを開けるためにビス12本を外していました。効率が悪いのでドア式に改造して直ぐ開けられるようにしました。

When maintaining the alternator experimental equipment, I always had to remove 12 screws to open the left panel. Since it was inefficient, I modified it to a door type so that it could be opened immediately.

ドアを開けたところ。中には駆動用のベルト2本がある。

Opening the new door. There are two drive belts inside.

ドアが閉まっている時。以前はこの状態でボルト12本で固定されていた。

Previously, I had to remove 12 bolts for inspection.