1F デッキ作り 1F Concrete floor turned into a wood deck

(2022.6.14)(6.16)(6.17)(6.29)

1Fのコンクリート床をデッキにすることにしました。

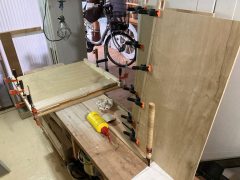
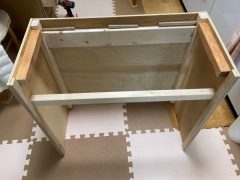
作業前の写真です。

ホームセンターで購入してきた材料を両サイドに置いています。

面積にして60%位を並べてみました。所々ビス止めしてます。つづく。

(6.16)

更に80センチほど手前まで仮置きが終わり、これで予定面積100%です。

(6.17)

老犬は寂しがり屋でクンクン泣くのでDIYに参加します。ファンの風で涼みながらリラックスしています。

昨日仮置きしたエリアのビス止めをしました。つづく。

(6.29)

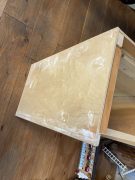
廃材の鉄板が有ったので、抑えの鉄板にします。ビス穴を開けます。

デッキ板の端材で端を斜めに収めたいと思います。

Slope using scrap materials

鉄板を床にビス止めし、斜めの板にもビス止めします。

Hold it down using scraps of iron plate

こんな感じになりました。

手打ち蕎麦教室 Handmade soba class

(2022.05.01)(5.15)(5.29)(6.19)

手打ち蕎麦 入門コース に挑戦しました。

計4回の初日です。500グラム 2-8蕎麦 を打ちました。

慣れないせいか腰が痛いです。打ち終わって茹で方を習いながら試食して終了。

自分で打った物は持ち帰り、早速家でも食べました。自分で打った蕎麦は大変美味です。

つづく。

I tried the handmade soba introductory course. This is the first day of a total of 4 sessions. I made 500 grams of 2-8 soba noodles. My back hurts because I’m not used to it. After finishing the cooking, I learned how to boil it and tasted it. I took home what I made and ate it right away at home. The soba noodles you make yourself are very delicious.

(5.15)

2回目の講習に行きました。雰囲気が少し分った気がします。

I went to the second course. I feel like I understand the atmosphere a little bit.

本日の成果を晩御飯にして味わいました。

蕎麦湯で焼酎を割ってみましたが、結構美味しいです。

それから、蕎麦湯で味噌汁を作りました。明日の朝ごはんで頂きます。

つづく。

(5.29)

三回目の教室です.

授業の初めは大先生の見本打ちを見て技を盗む時間です。見ているとやれやれそうなのですが、いざ実践するとボロボロです。

水を入れて最適の柔らかさにする(水回し)のですが、入れすぎると元に戻せないため慎重になり時間が掛かりすぎるのです。この水回しがキーポイント(成功のカギ)みたいです。

今回は7つあるテーブル全部埋まり賑わいました。つづく。

This is my third class. At the beginning of class, it’s time to watch O-sensei’s sample moves and steal techniques. It looks amazing when you look at it, but when you put it into practice, it falls apart. We add water to make it the perfect softness (water turning), but if you add too much water, you won’t be able to get it back to its original state, so you have to be very careful and it takes too much time. This water turning seems to be the key point (key to success). This time, all seven tables were occupied and the place was very lively.

(6.19)

本日で入門コース最終です。最後は750グラムを打ちました。とりあえず卒業?終了です。

今後は、そば粉、道具(貰い物が多い)が、とりあえず揃っているので自力で打ってみたいと思います。つづく。

Today is the final day of the introductory course. In the end I hit 750 grams. Graduation anyway? It’s over. In the future, I would like to try making it myself since I already have the buckwheat flour and tools (often given to me).

雨除け rain protection

(2022.05.06)(5.24)(6.5)

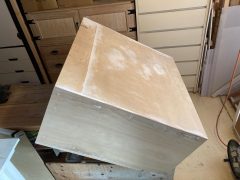
自作のフェンスに取り付けた飾りが濡れるので雨除けを作ることにしました。

このフェンス面にディスプレイすると雨の日にびしょ濡れになるので困っていました。

フェンスの上に取り付けたいと思います。

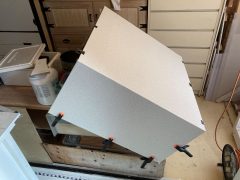
材料に塗装して準備します。

翌日塗装が乾いて取り付けます。これに波板を付けて

こんな感じになりました。

(5.24)

反対側にも付けることにしました。つづく。

(6.5)

本日、波板を1枚買って来て完成しました。

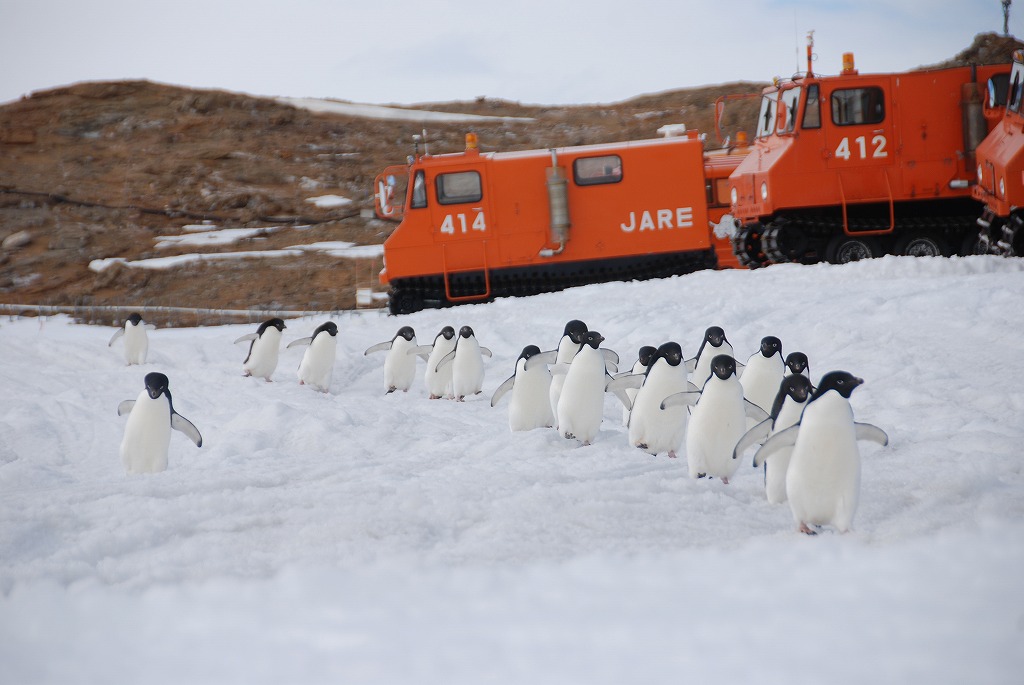
今の昭和基地の映像 Images of the current Showa base

(2018.9.24)(2022.6.4)

リアルタイム映像 real interval photography

日本とは6時間の時差があります。15時~21時ころ見ると明るい画面のはずです(8月~5月)

5月~7月は極夜のため18時ころしか明るくなりません。(天気が良い時)。もしブリザードで悪天であれば安全確保のための外灯が見えるかもしれません。

There is a 6 hour time difference with Japan. If you look at it from 3pm to 9pm, you should see a bright screen (August to May) From May to July, there is polar night, so it only gets light around 6pm. (When the weather is nice). If the weather is bad due to a blizzard, you may see outside lights to ensure safety.

3階クローク扉 クロス張り Pasting wallpaper on the cloakroom door

(5.28)(5.30)(50.31)

一つは、こちらの扉。

二つ目はこちら クロークと部屋の引き戸です。

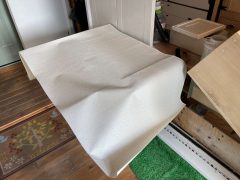
クロスは、のり付きを 15m 買いました。

今日は 2.3m を二枚使います。

本日は折れ戸2枚貼りました。つづく。

(5.30)

部屋の引き戸を貼りました。つづく。

I pasted the sliding door in the room.

(50.31)

本日は二つ目のクローク扉を貼りました。

こんな感じで部屋が明るくなりました。

使用材料はアトム製のパーツセットの薄扉用 HR-200-SL [アトム] 収納 上吊式 No306-set3-270 30kg以下/戸 戸厚:20mm~26mm 折戸1組幅:800~900mm ※折戸3組用 を使いました。

寸法参考はアトムダイレクトショッを熟読しました。