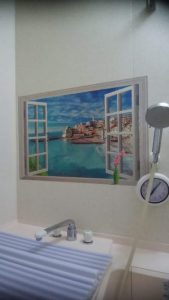
我が家のお風呂には窓が無いので、窓を作ってみました。この絵は3Dなんです。

令和6年の地震や豪雨災害の早い復興を願います。 私の趣味はDIYを楽しむ事 小さな物から大きな物まで修理や作成しています。 (写真:梅津正道隊員撮影) I wish for a swift recovery from the earthquake and heavy rain disasters of 2024. My hobby is enjoying DIY, repairing and creating things from small to large. (Photo: Taken by Masamichi Umezu)
我が家のお風呂には窓が無いので、窓を作ってみました。この絵は3Dなんです。

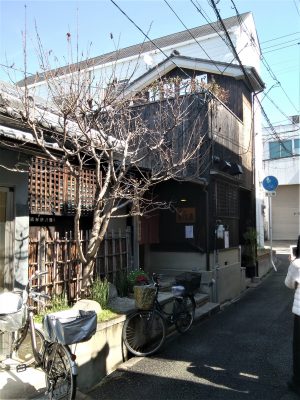
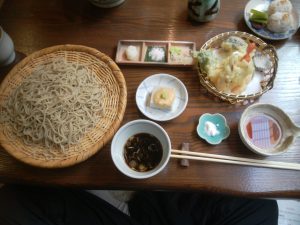
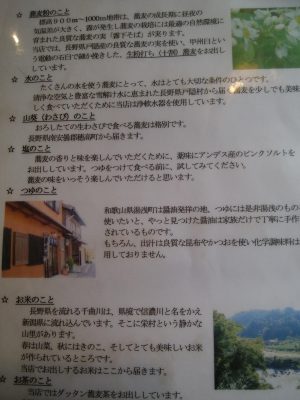
ここは家の近くの蕎麦屋さんです。営業は金、土、日曜日の週3日です。今日は天ぷらそばを食べました。蕎麦は長野、お醤油は和歌山、そば茶は韃靼蕎麦を中国から仕入れているそうです。This is a soba restaurant near my house. We are open 3 days a week: Friday, Saturday, and Sunday. Today I ate tempura soba. They source their soba from Nagano, their soy sauce from Wakayama, and their soba tea from Tartary Soba from China.
夫婦で古民家をお店として商売されていますが、体力を考えて週3日のお昼だけの営業です。開店と同時に本日売り切れの看板が出るので、必ず予約が必要です。
(2019.3.9)
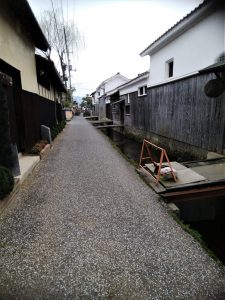
鳥取県を初めて旅行しました。宿は三朝温泉に泊まり、倉吉の街を散策しました。落ち着いた雰囲気を味わえました。カニ料理は美味かったのでまた行きたいと思います。It was my first time traveling to Tottori Prefecture. We stayed at Misasa Onsen and took a walk around Kurayoshi. I could enjoy the calm atmosphere. The crab dish was delicious and I would like to go there again.
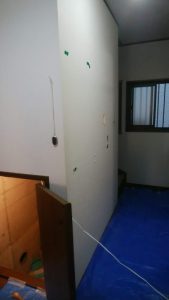
現在1階の階段下に在る収納は小さいので、容積アップしたいと思います。
この部分を収納にしたいと思います。
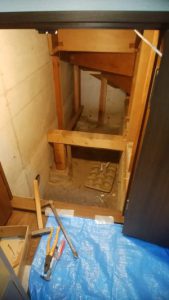
すでに在った小さい収納(手前90㌢)を撤去すると、更に奥に大きなスペースが有りました。When we removed the small storage space that was already there (90 cm in front), there was an even bigger space in the back.
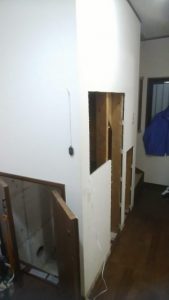
横の壁を新収納出し入れ口として、開口しました。I opened the side wall as a new storage entrance.
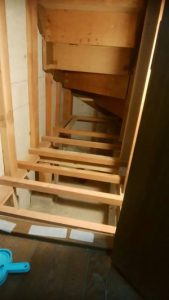
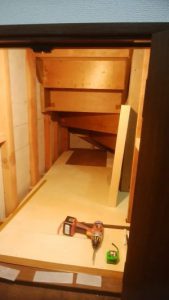
根太を入れて床を張りました。奥の床の色が違う所は床下点検口です。I laid out the floor. The area in the back where the floor is a different color is the inspection opening under the floor.
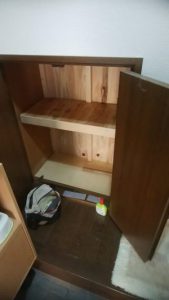
玄関側の靴入れが完成です。
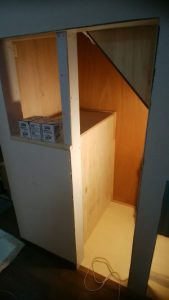
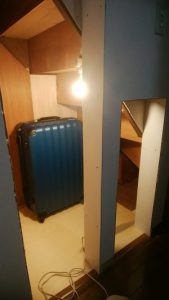
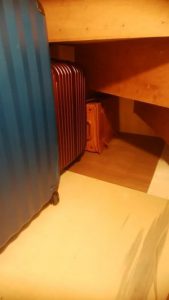
新しい階段下収納部です。
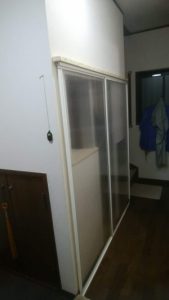
最後にホームセンターで売っていた、二重窓枠セットとポリカの板を利用した引き戸を取付けました。
ポリカは透明なので中が見えるため、商品名「剥がせる壁紙」というものを貼ってみました。Polycarbonate is transparent, so you can see what’s inside, so I applied a product called “Removable Wallpaper.”
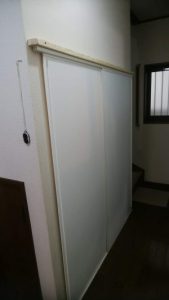
これで中が見えなくなり、奥さんにも合格を貰えました。
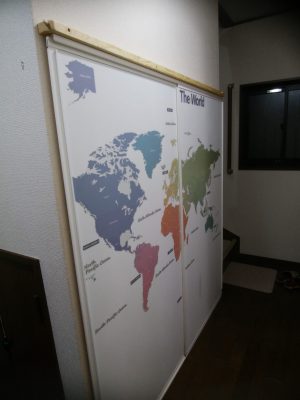
扉に世界地図を貼り付けて見ました。ちょっと楽しい感じになりました。I pasted a world map on the door.
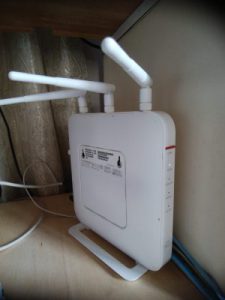
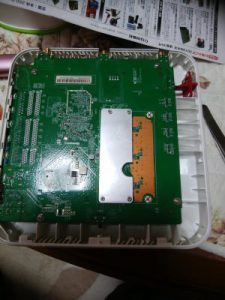
LANルーターのアンテナが外れ掛けていたので、分解してアンテナベースをハンダ付け修理しました。
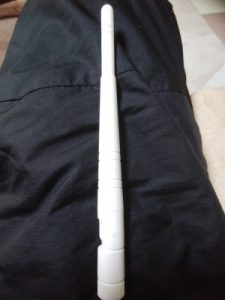
これが外れ掛けていたアンテナ。
左のアンテナが修理したものです。少し曲がっていますが、ブラブラよりはましです。
