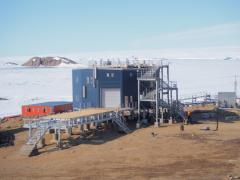
令和6年の地震や豪雨災害の早い復興を願います。 私の趣味はDIYを楽しむ事 小さな物から大きな物まで修理や作成しています。 (写真:梅津正道隊員撮影) I wish for a swift recovery from the earthquake and heavy rain disasters of 2024. My hobby is enjoying DIY, repairing and creating things from small to large. (Photo: Taken by Masamichi Umezu)
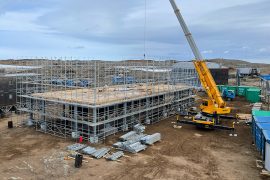
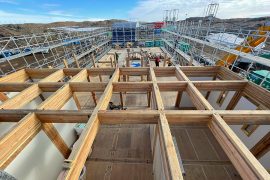
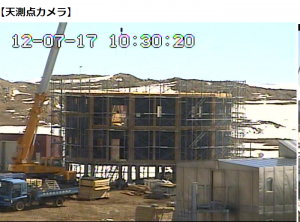
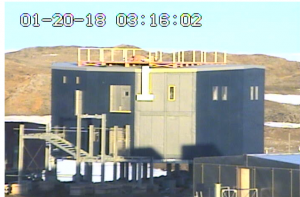
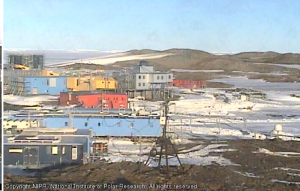
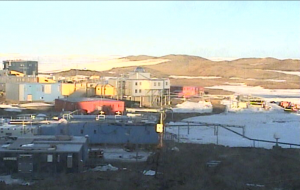
When I looked at the web camera, I saw that a new building was being constructed next to the meteorological building. The building is called the Basic Observation Building, and it is said to be an observation building that integrates the meteorological building, geology building, ionosphere building, and environmental science building. I look forward to completion.
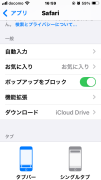
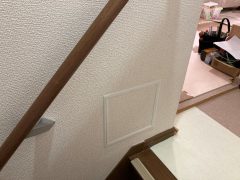
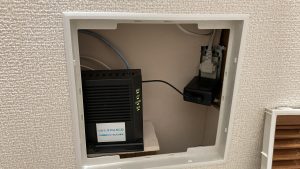
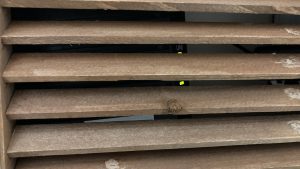
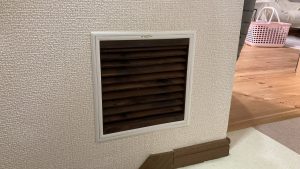
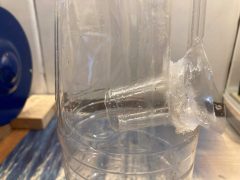
I have placed my modem inside the inspection opening in the wall. Recently, the connection has been frequently dropping, and each time, I have to turn off the power and reset it
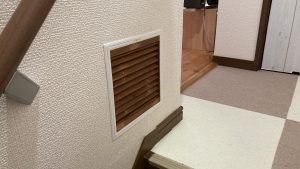
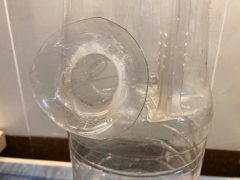
モデムの通信状態のランプを外から見るために 蓋を改造する事にしました。To modify the lid in order to view the communication status lights of the modem from the outside.
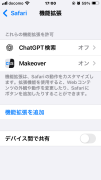
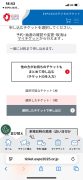
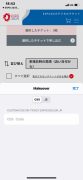
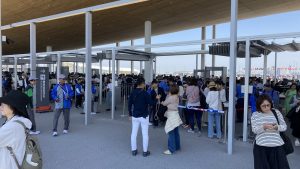
関西万博に行きました。折角大阪に住んでいるので万博を楽しもうと 夫婦で通期券を買い本日一回目を敢行し万博に行きました。 We visited the Kansai Expo. Since we live in Osaka, we decided to make the most of the Expo and purchased a season pass as a couple. Today, we made our first trip to the event.
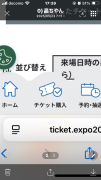
I left my bicycle at Suminoe Park, took the New Tram from the starting station (Suminoe Park) to the last station (Cosmo Square), then transferred to the Metro Chuo Line and arrived at Yumeshima Station after one stop.
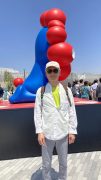
The front of Myakumyaku was crowded with people taking photos, but the sides allowed for immediate shots without waiting. There was also a Myakumyaku in a different pose on the west gate side.
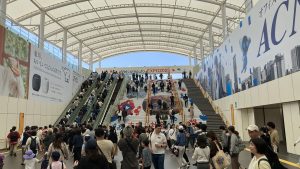
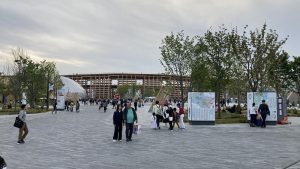
初めに 大屋根リングを一周 見晴らしと規模の大きさを実感しました。First, we walked around the Great Roof Ring, taking in the panoramic views and appreciating its impressive scale.
We descended from the Great Roof Ring, recharged our energy with rice balls, explored various areas without reservations, visited two reserved pavilions, and returned home around 6:30 PM.
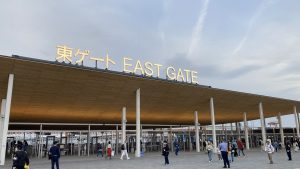
帰りも東ゲート、地下鉄、ニュートラムのルートでした。The return trip also followed the same route: East Gate, subway, and New Tram.
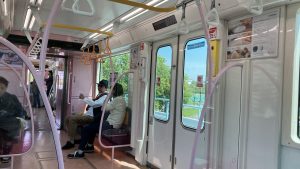
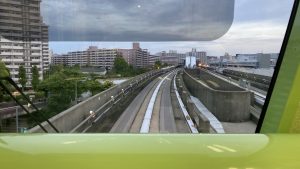
ニュートラムは無人運転なので一番前に座ると 運転手気分を味わう事が出来ます。
Since the New Tram is operated without a driver, sitting at the very front allows you to feel like a train operator.
(4.30)
今日は e Mover に載りました。東西を行ったり来たりする時は楽だと思います。1,000円で1日乗り放題です。1回は400円です。朝から夜まで歩き回る時は 乗り放題良いかも。
Today, I rode the e Mover. I think it’s convenient for traveling back and forth between the east and west. It offers unlimited rides for 1,000 yen a day, while a single ride costs 400 yen. If you’re walking around from morning until night, the unlimited pass might be a good choice!
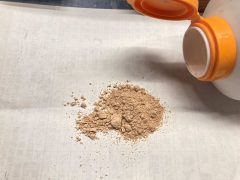
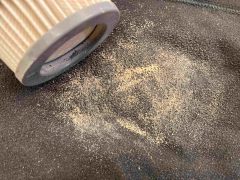
The purpose of making it was to conduct an experiment to see if it could effectively collect the diatomaceous earth dust that is often found at part-time jobs.
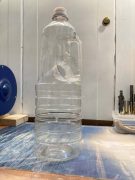
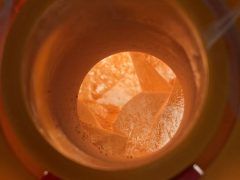
これが、珪藻土粉です。This is diatomaceous earth powder.
吸うには吸いますが、吸ったとたんにタンク内が粉だらけになり何も見えなくなります。
As soon as you smoke, the inside of the tank becomes full of powder and you can’t see anything.
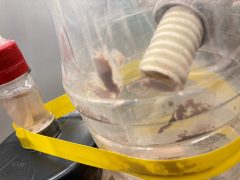
Powder accumulates in the tank, but it reaches the air pump filter. Debris other than powder remains in the tank, but powder in smoke form seems to be sucked out of the tank.
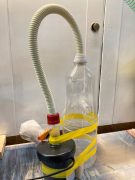
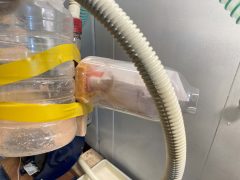
右に突き出た小さいペットボトルがフィルターです。The small plastic bottle that sticks out to the right is the filter.
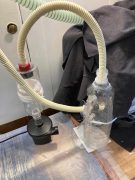
Once, when we conducted a powder suction experiment, the powder accumulated in the folds of the bellows of the white hose and did not reach the dust collector. Rebuild by changing the hose to one without bellows. to be continued
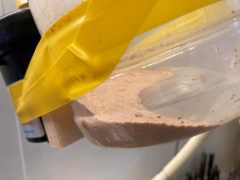
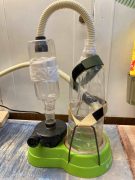
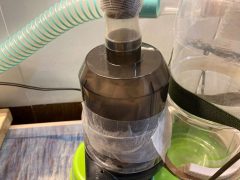
The basic configuration is the same, but the tank is shaped like two containers of seasoned seaweed connected together, and the inner diameter of the hoses has been increased from 14 mm to 32 mm. It turns out that there are no hoses without bellows. It seems that a lightweight hose must have a bellows structure or coil to ensure strength, so we decided to increase the hose diameter. I would like to experiment with this. to be continued
(12.20)
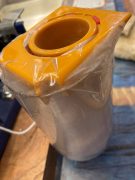
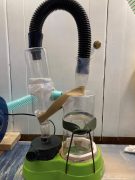
フィルターを廃材プラ容器を利用して高さを低く変更してみました。
I tried lowering the height of the filter by using a waste plastic container.
宜しければ動画もご覧ください。 実験動画 Please click to watch the video if you like.
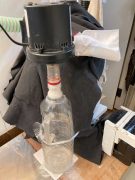
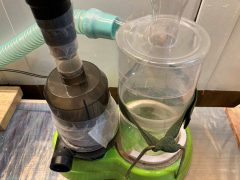
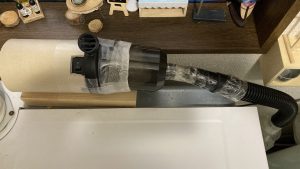
左がフィルター、右が集塵タンク。The filter is on the left, and the dust collection tank is on the right.
ホースとフィルターはペットボトルをバーナーで加熱して収縮させたもの。
The hose and filter are made by heating a plastic bottle with a burner and shrinking it.
さー実験で珪藻土の粉を吸ってみました。
As an experiment, I tried smoking diatomaceous earth powder.
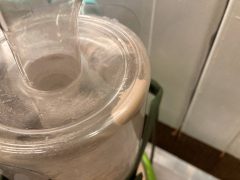
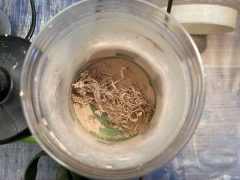
集塵タンク入り口は粉がへばり付いています。The entrance to the dust collection tank is caked with powder.
タンク内部は壁面がかなり汚れています。The walls inside the tank are quite dirty.
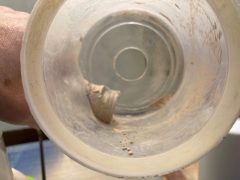
衝撃を与えると落ちてきました。It fell when I gave it a shock.
タンク下部 薄茶色の物が粉。糸くずみたいな物は以前吸ったペットボトルの削りカス。
At the bottom of the tank, the light brown substance is powder. The lint-like thing is shavings from a plastic bottle I used to smoke.
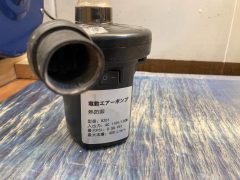
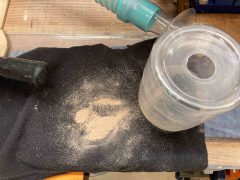
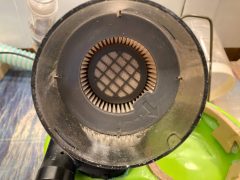
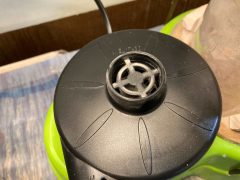
空気ポンプからフィルターを外しました。I removed the filter from the air pump.
更にフィルターを抜き取ると、こんな感じです。
真っ白だったフィルターは粉まみれです。タンクでキャッチ出来なかったものが、ここまで来ています。
The filter, which was pure white, is now covered in powder. What we couldn’t catch in the tank is now here.
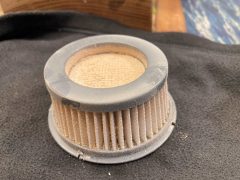
衝撃を与えても、この程度しか落ちません。フィルターは水洗いが必要です。
Even if you give it a shock, it will only fall by this amount. The filter needs to be washed with water.
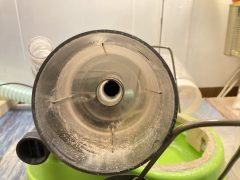
ポンプ入り口にも薄っすらと粉が着いています。
There is also a thin layer of powder at the pump entrance.
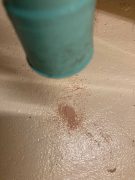
There is also powder stuck to the inner wall of the suction hose. The conclusion was that general dirt can be captured in the dust collection section, but about 30% of powder passes through the cyclone section. From now on, I will avoid sucking up special powder-like materials.
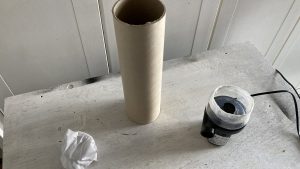
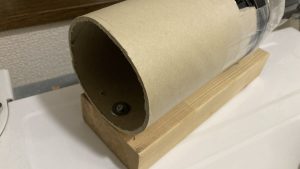
“For over a year, I have been using it to clean lint from the washer-dryer. However, recently the dust tank capacity has become insufficient, so I decided to increase its volume.
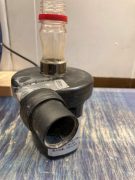
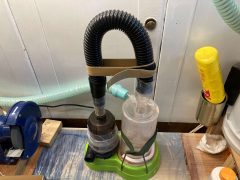
I increased the capacity by approximately 40%, so I decided to change the pump’s configuration to a horizontal position. The photo shows the air pump and a cardboard tube used to fix the pump to the wooden stand.
横向きになったポンプ The pump turned to a horizontal position
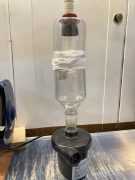
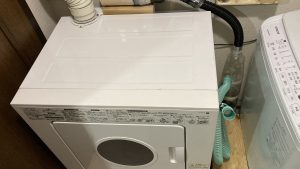
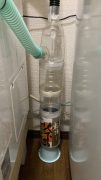
乾燥機と洗濯機の間にゴミタンクが在ります。背高になりました。 The dust tank is located between the dryer and the washing machine. It has become taller.
同サイズのペットボトルが無かったので 中国茶の缶を利用しました。 Since there wasn’t a plastic bottle of the same size, I used a Chinese tea can instead.
以前は5日位でタンクが一杯になっていましたが 倍は溜めれそうな気がします。
Previously, the tank would fill up in about five days, but now it seems it can hold about twice as much.