リビングの床が一部沈んでいるので、レベルをチェックしました。
レーザーを使うと素人にも簡単にレベルチェックが出来ます。Using a laser, even amateurs can easily check the level.
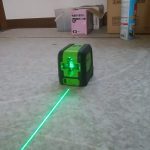
数千円で売っているのですが、電子科の先生にお借りしました。
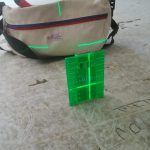
緑のレーザー光は見易くて良いです。
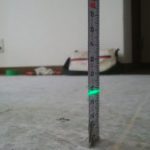
スケールを当てて確認してゆき、その場所のレーザー光までの高さを床面に書きます。結果は、1.5平方メートルのエリアが5から10ミリ程沈んでいました。An area of 1.5 square meters had sunk by about 5 to 10 mm.
沈み込んでいる部分の根太にスペーサーを入れることにします。I’m going to put a spacer in the joist in the sinking part.
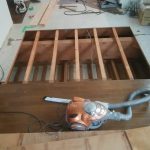
次の日、沈んでいる部分だけ床板を剥ぎます。I’m going to put a spacer in the joist in the sinking part. Peel off the floorboards only in the sunken areas.
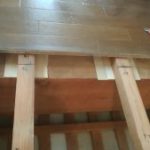
必要な厚みに調整した合板を根太の下に挿入して、レベル合わせ終了です。Insert the board adjusted to the required thickness under the joists and complete the leveling.
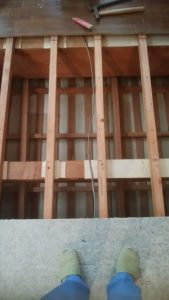
下に見えているのは1階の車庫の天井です。車庫は外なので今見えている部分に断熱シートを入れないと冬場2階のリビングは底冷えすることが想像されます。
急遽断熱材をネット購入しました。
What you can see below is the ceiling of the garage on the first floor. Since the garage is outside, I can imagine that the living room on the second floor will get very cold in the winter if we don’t put insulation sheets in the visible part. I suddenly bought some insulation material online.
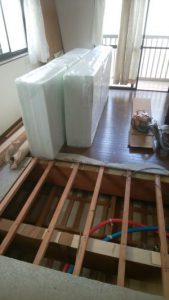
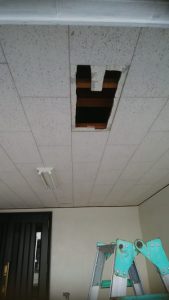
駐車場の天井にも穴を開けて断熱材を順序良く並べます。
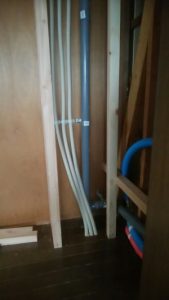
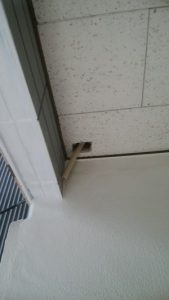
車庫の天井の隅にはインターホン用の電線管を配管しました。
断熱材挿入と水、お湯、電気管の工事が終ったので、床板を戻します。Now that the insulation has been inserted and the water, hot water, and electric pipe work has been completed, it’s time to put the floorboards back in.
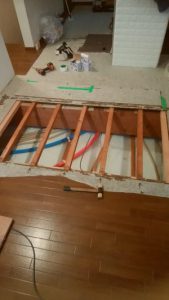
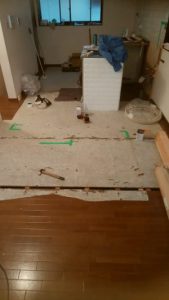
これで違和感無く歩く事が出来ます。これでやっと新しいフローリングを敷く作業が出来ます。
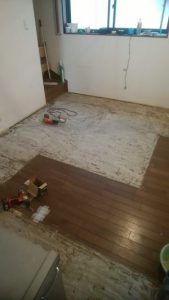
先ず、クッションフロアーを剥いで、こびり付いてい接着剤を電動ワイヤーブラシで取り除きます。Peel off the cushion floor and remove any stuck adhesive using an electric wire brush.
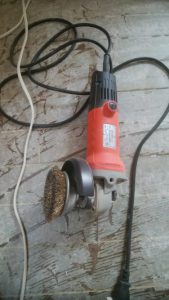
左が取り除いた部分です。
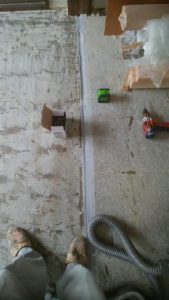
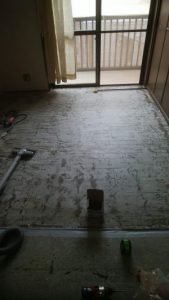
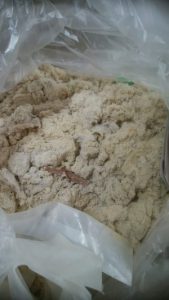
こーんなに、削りカスが出ました。
その後、浮き気味の旧フロアーをビスで固定しました。
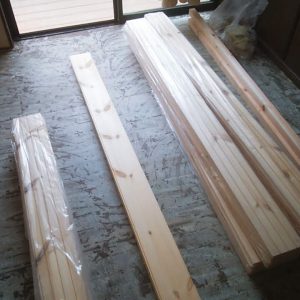
今日は、フローリング材が来ました。ロシアンパインの無垢、無塗装(1850×135 t:15)にしました。The flooring material arrived today. Made of solid Russian pine, unpainted (1850 x 135, t: 15).
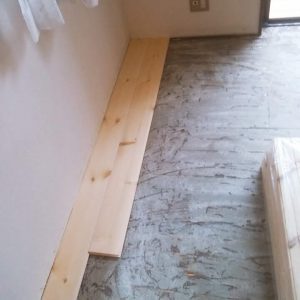
初日、腰が痛い。
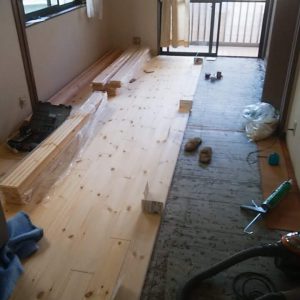
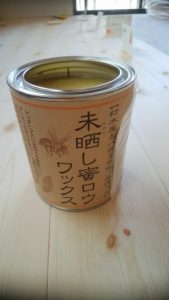
張り終えた所は、蜜蝋ワックスを塗りながら進めてゆきます。Continue applying beeswax to the finished area.
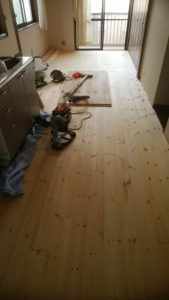
二日目で終了。巾木は後日実施。Finished in two days.
巾木が来ました。
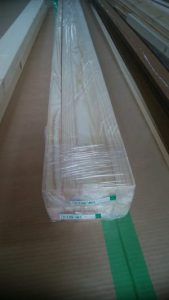
巾木もパインの無垢材にしました。The baseboard was also made of solid pine.
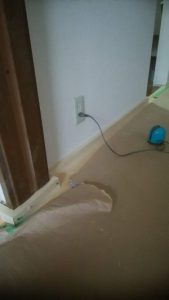
コーナーがあると、入隅出隅の加工をするので時間がかかります。腰が痛くなりました。完成です。
