(2025.7.7)
極地研のHP(南極未来ビジョン2034)に載っていたのでお知らせします。

南極 ごかい越冬男 A man who wintered in Antarctica five times
令和6年の地震や豪雨災害の早い復興を願います。 私の趣味はDIYを楽しむ事 小さな物から大きな物まで修理や作成しています。 (写真:梅津正道隊員撮影) I wish for a swift recovery from the earthquake and heavy rain disasters of 2024. My hobby is enjoying DIY, repairing and creating things from small to large. (Photo: Taken by Masamichi Umezu)
(2025.7.7)
極地研のHP(南極未来ビジョン2034)に載っていたのでお知らせします。
(2025.1月)
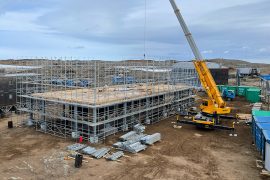
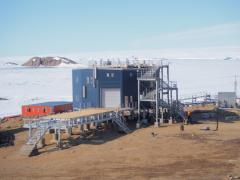
防Cを出た所に新夏宿が建ち始めています。これで夏隊の生活も楽になりそうですね。見た感じ かなり大きいサイズですね。
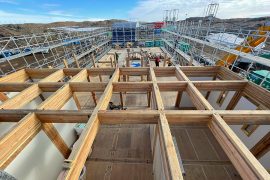
(写真:国立極地研究所HPより)
(20218.1.9)
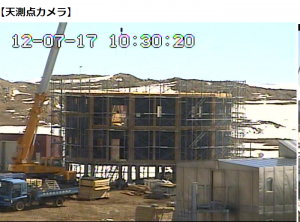
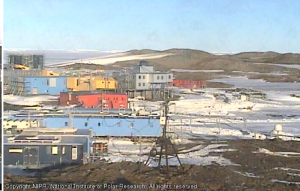
webカメラを見たら気象棟の横に新しい建物が建設中ですね。名前は基本観測棟という建物で、気象棟、地学棟、電離層棟、環境科学棟を統合した観測系建物だそうです。完成が楽しみです。
When I looked at the web camera, I saw that a new building was being constructed next to the meteorological building. The building is called the Basic Observation Building, and it is said to be an observation building that integrates the meteorological building, geology building, ionosphere building, and environmental science building. I look forward to completion.
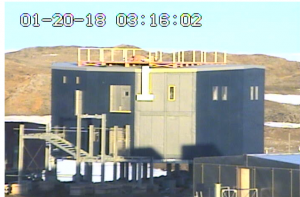
基本観測塔は外回りは完成したようで、足場も外されました。越冬中に内部工事をやるのでしょう。
2025年の写真です。
倉庫棟にも足場が設置されました。58次の時のブリザードで外壁が剥がれたため、天測点側全面を張り替えするそうです。
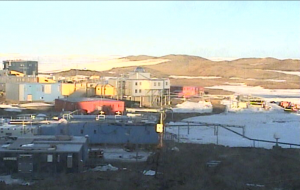
倉庫棟、壁張替えも終わった様子、こちらも足場が取れています。修理部分の色がシルバーっぽい感じですね。
(2025.5.22)
パビリオン予約の際 予約一杯のパビリオンは✕、空き僅かなら△、空き沢山は〇の表示が出ます。でも私たちは 空きを探しているので✕表示は不要なのです。更に言うと 殆んどのパビリオンが一杯なので98%は✕表示なので ページスクロールに莫大な時間を要します。このストレスたるや半端ないです。
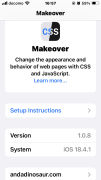
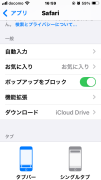
今回は この✕表示を無くして △と〇表示だけにする方法を(iPhone) をアップします。
①アップルストアからCSS Makeoverをインストールします。
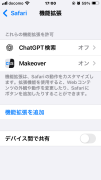
次に iPhoneの設定→アプリ→safari→Makeoverを選択して機能拡張を許可をオンにします。
万博にログインして 自分のチケットの予約画面を出します。
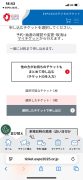
画面左したの▭と二本線のマークをタッチする

この画面の CSS Code に 以下のコードをコピーペーストする。
作業はこれで 終わりです。
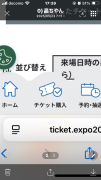
予約画面で✕マークのパビリオンが非表示であることを確認する。もっと見るを押して表示がグレーになったらリストの最後まで行ったことになります。△と〇が無い場合は 全て一杯だった事になるので 時間をおいて再度同じことを繰り返す。もし空きが有れば△や〇が表示されます。
これで かなりの時短が出来て ストレスから解放されると 思います。それにしても 空きはなかなか ゲット出来ません。忍耐力は必要という訳ですかね?
(2025.5.10)
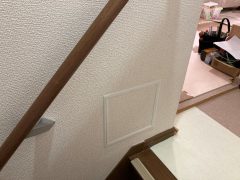
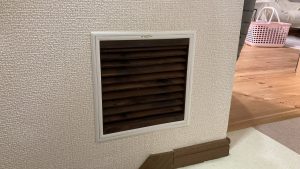
この点検口の壁の中に モデムを置いています。最近回線が途切れる事が頻繁に発生して その度に電源オフしてリセットしています。
I have placed my modem inside the inspection opening in the wall. Recently, the connection has been frequently dropping, and each time, I have to turn off the power and reset it
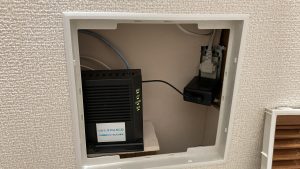
モデムの通信状態のランプを外から見るために 蓋を改造する事にしました。To modify the lid in order to view the communication status lights of the modem from the outside.
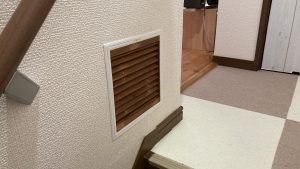
ルーバーにしてみました。I decided to make it into a louver.
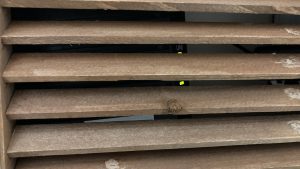
そしたら ルーバーの隙間からランプの点滅を 見る事が出来るようになりました。これでモデムをリセットするか Wi-Fiルーターをリセットすれば良いか分かります。
この後ルーバーを塗装して 終了です。
This allowed me to see the blinking lights through the gaps in the louver. Now I can tell whether to reset the modem or the Wi-Fi router.
Next, I’ll paint the louver, and that will complete the project!
(2025.4.27)(4.30)
関西万博に行きました。折角大阪に住んでいるので万博を楽しもうと 夫婦で通期券を買い本日一回目を敢行し万博に行きました。 We visited the Kansai Expo. Since we live in Osaka, we decided to make the most of the Expo and purchased a season pass as a couple. Today, we made our first trip to the event.
自転車を住之江公園に預けて ニュートラムを始発(住之江公園)から終点(コスモスクエア)まで乗って地下鉄メトロ中央線に乗り換え1駅で夢洲駅に到着。
I left my bicycle at Suminoe Park, took the New Tram from the starting station (Suminoe Park) to the last station (Cosmo Square), then transferred to the Metro Chuo Line and arrived at Yumeshima Station after one stop.
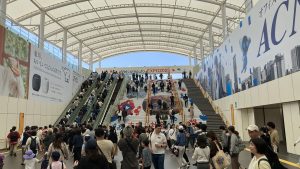
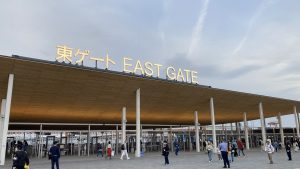
夢洲駅を出ると Upon exiting Yumeshima Station…
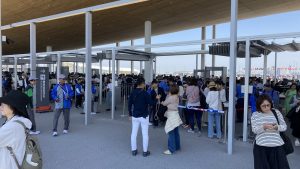
東ゲートが直ぐにあり 待ち時間無しで入場
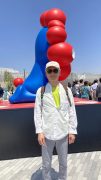
ミャクミャクの前側は写真を撮る人で混雑していますが、側面は並ばずに直ぐ撮影できました。西ゲート側にもポーズの違うミャクミャクが居ました。
The front of Myakumyaku was crowded with people taking photos, but the sides allowed for immediate shots without waiting. There was also a Myakumyaku in a different pose on the west gate side.

初めに 大屋根リングを一周 見晴らしと規模の大きさを実感しました。First, we walked around the Great Roof Ring, taking in the panoramic views and appreciating its impressive scale.
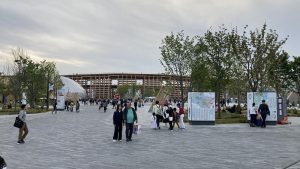
大屋根リングから降りて おにぎりでエネルギー補給して あちらこちらを予約なしで見て回り、2か所の予約パビリオンを見て18時半ころ帰りました。
We descended from the Great Roof Ring, recharged our energy with rice balls, explored various areas without reservations, visited two reserved pavilions, and returned home around 6:30 PM.
帰りも東ゲート、地下鉄、ニュートラムのルートでした。The return trip also followed the same route: East Gate, subway, and New Tram.
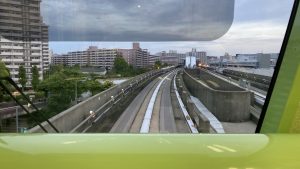
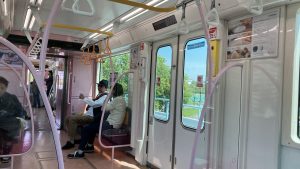
ニュートラムは無人運転なので一番前に座ると 運転手気分を味わう事が出来ます。
Since the New Tram is operated without a driver, sitting at the very front allows you to feel like a train operator.
(4.30)
今日は e Mover に載りました。東西を行ったり来たりする時は楽だと思います。1,000円で1日乗り放題です。1回は400円です。朝から夜まで歩き回る時は 乗り放題良いかも。
Today, I rode the e Mover. I think it’s convenient for traveling back and forth between the east and west. It offers unlimited rides for 1,000 yen a day, while a single ride costs 400 yen. If you’re walking around from morning until night, the unlimited pass might be a good choice!