
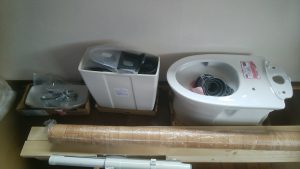
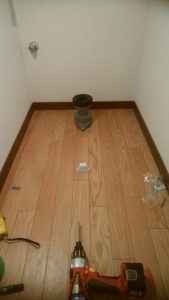
3階の便器が到着。取説を見ながら排水穴を開け配管作業開始です。The toilet has arrived. While reading the instruction manual, we opened the drainage hole and started the plumbing work.
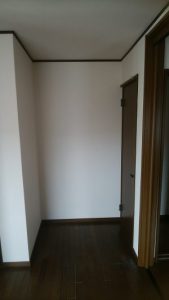
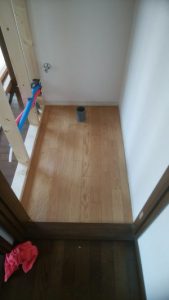
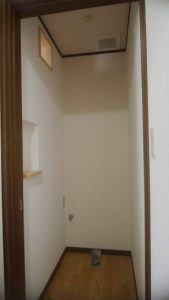
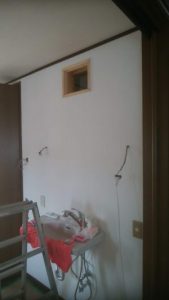
ここがトイレにするスペースです。This is the space for the toilet.
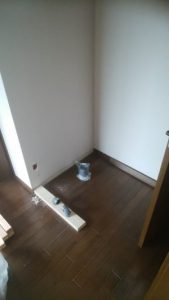
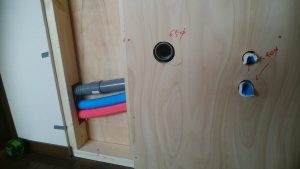
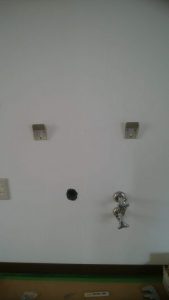
排水給水を配管します。Pipe the drainage water supply.

壁下地を作り、洗面用の給排水を壁に出しました。I made the wall base and put the water supply and drainage for the bathroom on the wall.

トイレの床はクッションフロアーを敷きます。The floor of the toilet will be covered with a cushion floor.
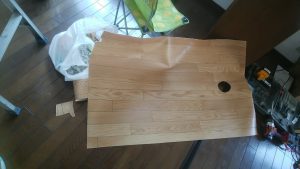
カットして
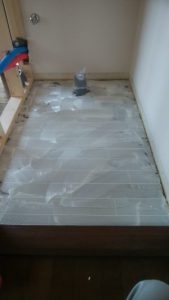
ボンドを塗って貼りました。
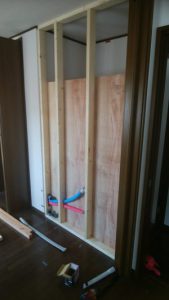
壁の工事を進めました。トイレの外側(見えてる面)に洗面が付きます。
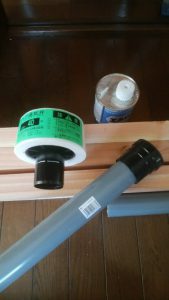
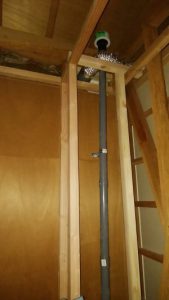
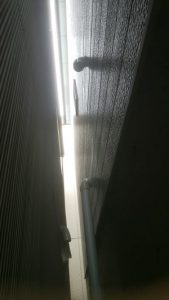
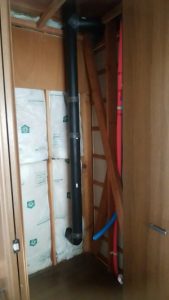
トイレの壁裏にドルゴ通気弁を着けます。
ドルゴ通気弁とは、排水が流れる時に弁が開き空気が排水管へ入りその後は臭気が出てこないように弁が閉まるものです。ドルゴの下の銀色のダクトはトイレの換気用ダクトです。
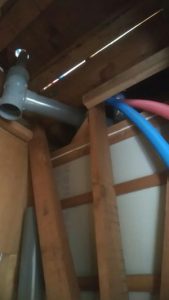
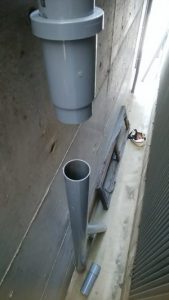
2階の天井です、すなわち3階の床下。This is the ceiling on the second floor, which means the floor below the third floor.
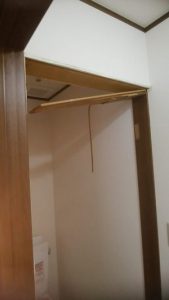
3階のトイレから2階のクローゼットを縦に配管します。Piping will run vertically from the toilet on the third floor to the closet on the second floor.
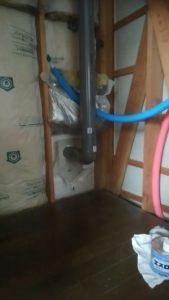
2階の床上で外に出します。こうすると外部に足場を組まなくても済みます。Take it outside on the second floor. This eliminates the need for external scaffolding.
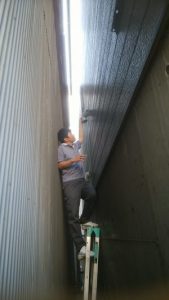
外に出る所は脚立で作業可能です。いよいよ既設管に繋ぎます。写真の方は中田先生、見学にみえられたのですがいつの間にか手伝わされている!
I can use a stepladder to work outside. Now it’s time to connect it to the existing pipe.
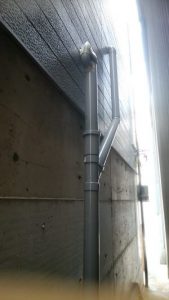
I joined the existing drain pipe on the left with the newly installed 3rd floor toilet drain pipe from the right.
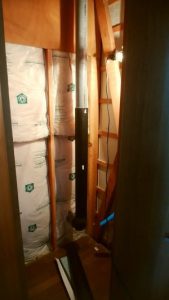
内部の排水管は遮音シートを巻いて防音します。The internal drainage pipes are soundproofed by wrapping them in soundproofing sheets.
シートは黒色です。これで排水時の遮音が出来るそうです。
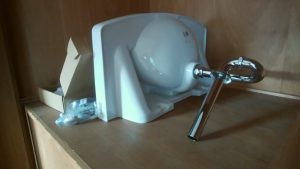
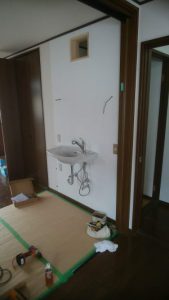
洗面器が到着したので、取り付け準備をします。Now that the washbasin has arrived, we are preparing to install it.
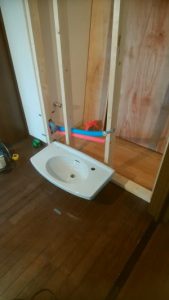
お湯、水、排水の位置を決めて補強を入れて壁を張りました。I determined the locations of hot water, water, and drainage, added reinforcement, and put up walls.
この面に洗面を設置すれば、洗面のために1階に行かないで済むようになります。

壁に電気配線を行いました。私は電気工事士だったことを思い出しました。

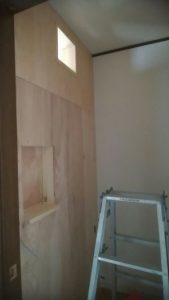
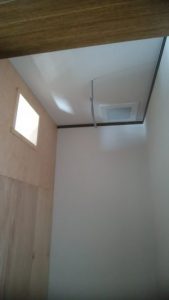
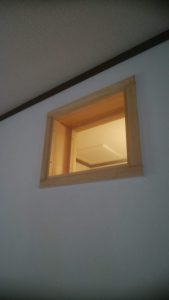
明り取りとニッチを設け、天井に換気扇も取り付けました。上に空いた小窓は明り取りです。
A niche was created and a ventilation fan was installed on the ceiling. The small window at the top is a light.
クロス張りました。初めて貼ったにしてはまあまあの出来です。少し色が違っていますが素人っぽくていいでしょ。I made a cross. It’s a pretty good result considering it’s my first time pasting it. The color is a little different, but it looks amateurish, right?
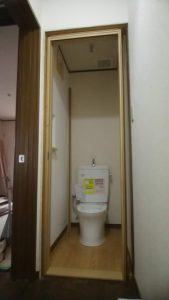
今日は、便器と洗面を取り付けます。Today we will install the toilet bowl and sink.
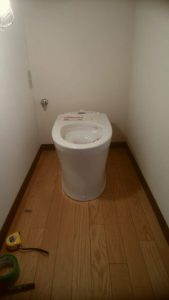

便器は30分位で終わりました。便座はシャワートイレを買うと付いてきます。The toilet was finished in about 30 minutes.
洗面も30分程度で取り付け終わりました。トイレ、洗面共に水を何回も流して漏れチェックしました。The bathroom was installed in about 30 minutes.
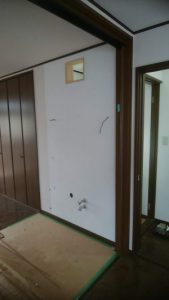
トイレの扉が昨日到着したので取り付けます。The toilet door arrived yesterday so I’m going to install it.
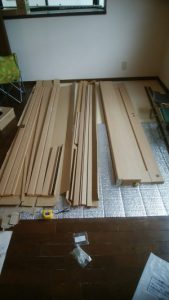
先ずは旧のドアの枠をバラします。上下左右枠を取り外してゆきます。First, take apart the old door frame.
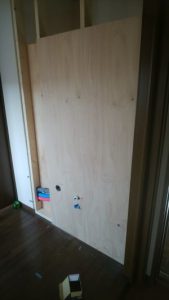
新しい枠を組み立てて隙間を合板を何枚か重ね合わせて埋めてゆきます。Assemble the new frame and fill in the gaps with several layers of plywood.
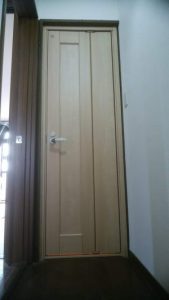
ドアは折れ戸にして開く方向のスペースが少なくて済むようにしました。 折れ戸は高価でしたが長く使うことを考えて奮発しました.The door is foldable so that less space is required in the opening direction. Folding doors were expensive, but I decided to use them for a long time.
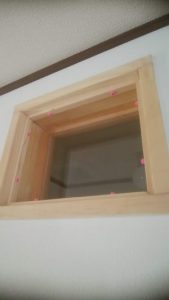
今日は明かり採り窓に塩ビ版を入れました。Today I put a PVC plate on the light window.
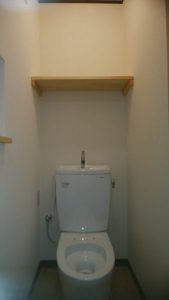
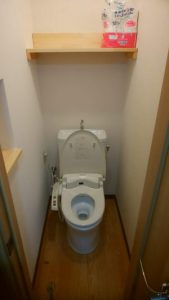
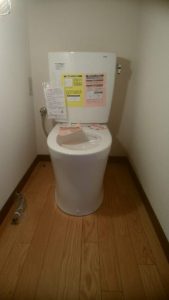
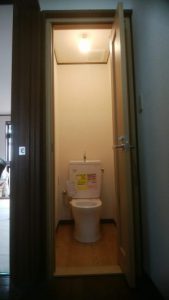
トイレに棚板とシャワートイレを取り付けました。I installed a shelf board and a shower toilet in the toilet.
残るは、ペーパーフォルダー、タオル掛けを取り付けると完成です。